

When the heat becomes unbearable, a ceiling fan becomes an indispensable ally. It’s essential for keeping your home cool, especially when air conditioning isn’t an option. However, its installation can seem complex to some. That’s why today we’re going to offer you a step-by-step guide to installing your ceiling fan.
Preparation before installation
Before installing your ceiling fan, some preparation is essential. First, choose the room where you want to install it. Make sure the ceiling is strong enough to support the fan’s weight and high enough to ensure good air circulation. Finally, you’ll need a nearby power outlet.
You should also choose a ceiling fan that’s the right size for your room. For a room smaller than 15 m², a fan with a diameter of less than 105 cm will be sufficient. For a room between 15 and 20 m², opt for a diameter between 105 and 140 cm. For a room larger than 20 m², a diameter greater than 140 cm is recommended.
Equipment needed for installation
To install a ceiling fan, you will need several tools: a drill, screwdrivers, a metal detector to locate electrical wires in the wall, terminal blocks to connect the wires, and a stepladder to reach the ceiling. In addition to these tools, you will also need screws and wall anchors to attach the fan to the ceiling.
Ceiling fan installation
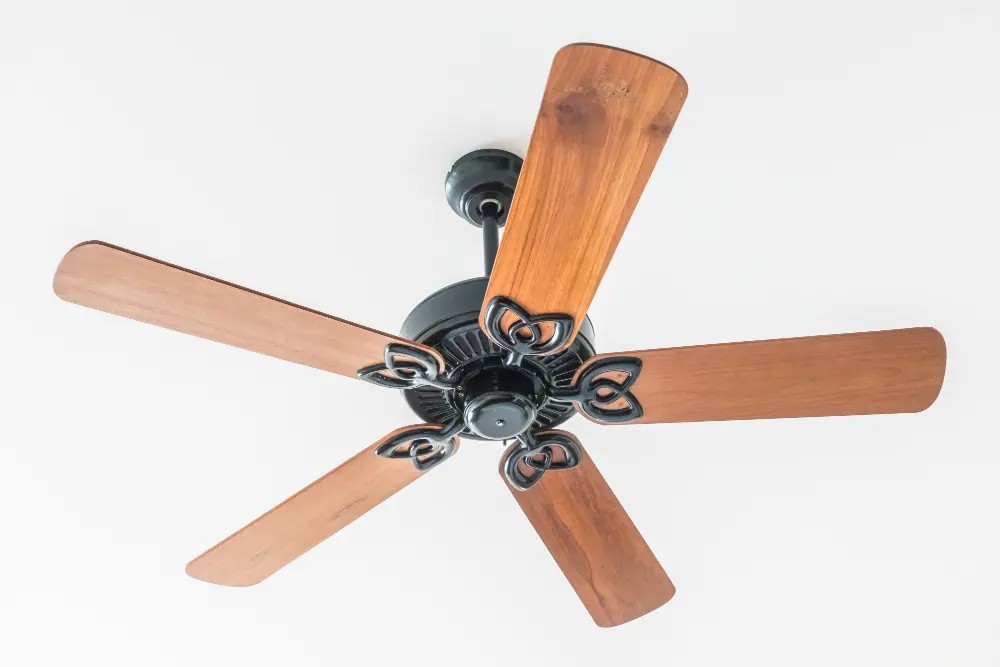
Installation begins with mounting the fan. Start by assembling the motor bracket (including the hanging hook to hold the fan) and the motor itself. Next, attach the blades to the motor. Ensure each blade is securely screwed in, as improper attachment can cause the fan to become unbalanced during operation.
Ceiling fan installation
After assembling your fan, proceed to attach the bracket to the ceiling. Drill holes in the chosen location, insert the wall anchors, and screw in the motorized bracket. The hanging hook must be correctly positioned to accommodate the fan.
Next, connect the fan to the power supply. Before doing so, turn off the power for your safety and connect the fan wires to the power supply wires using terminal blocks. Once connected, attach the fan to the hook on the motorized bracket and make the final connections.
Testing and verification
Now it’s time to check that everything is working properly. Restore the power and test that your ceiling fan is functioning correctly. Check that the fan shaft is securely fixed and that the blades rotate smoothly. Also, pay attention to the quality of the airflow. If necessary, adjust the blade speed to achieve adequate ventilation for your needs.
In conclusion, installing a ceiling fan is a process that requires minimal preparation, the right equipment, and careful attention to the installation steps. Once properly installed, a ceiling fan is an excellent way to cool your space, reducing the need for energy-intensive air conditioning. So, take your time, follow these tips, and enjoy a comfortable and cool indoor environment, even during a heatwave.

